Camera-Ready Bridal Makeup for Photos & Video
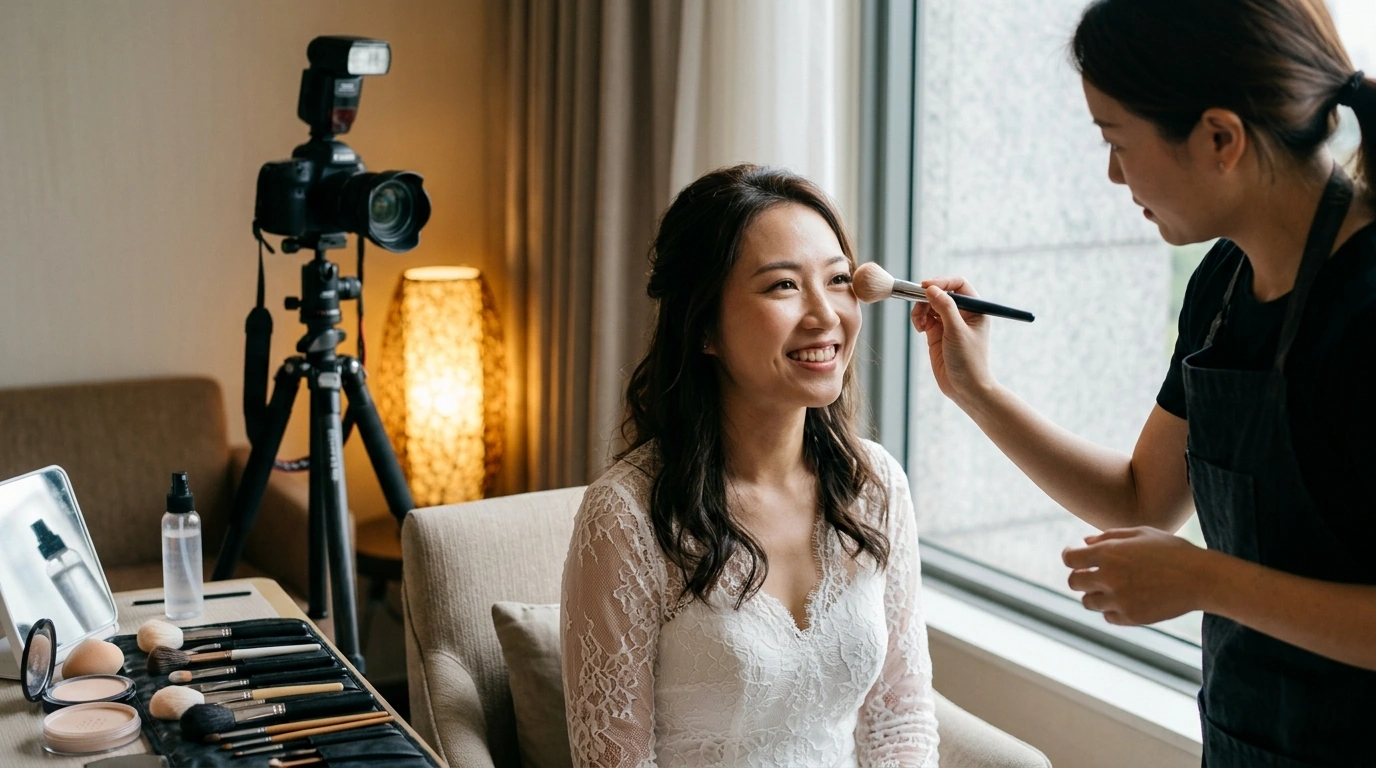
Bridal Makeup for Photos & Video: A Practical Guide to a Camera-Ready Look
Bridal makeup that looks flawless in person can read differently on camera. Lighting, lenses, and long-wear demands can change how skin texture, color, and shine appear. The goal isn’t “more makeup”—it’s smarter placement, better prep, and a finish that holds up from first look to last dance.
What Changes on Camera (and Why Makeup Needs Tweaks)
Cameras simplify and exaggerate at the same time: bright lighting can flatten natural facial dimension, while high resolution magnifies texture and dryness. That’s why bridal makeup often needs targeted contour, blush, and controlled highlight to bring back shape without looking overdone up close.
Color is another common surprise. Daylight, tungsten bulbs, and mixed venue lighting can shift undertones, making a “perfect match” in the mirror appear slightly pink, yellow, or gray in photos. Finish matters too—reflective particles and excess powder can cause flashback, while video captures shine building over time, especially in warm rooms or outdoor summer ceremonies.
Pre-Wedding Prep Timeline for Smooth, Calm Skin
Skin that’s calm and hydrated is the easiest canvas for camera-ready makeup. The simplest strategy is consistency: keep your routine steady, avoid last-minute experiments, and prioritize barrier support so foundation sits smoothly instead of clinging to dry patches.
Simple timeline checklist
| When | Do | Avoid |
|---|---|---|
| 2–4 weeks before | Maintain consistent skincare; schedule a makeup trial | New harsh actives; aggressive peels |
| 1 week before | Hydrate; spot-treat carefully; sleep and water | Over-exfoliating; heavy self-tanner experiments |
| 48 hours before | Soothe; prep lips; tidy brows | Waxing right before; strong fragrances near face |
| Wedding morning | Cleanse + moisturize; let layers set | Rushing base over wet skincare |
If you’ll be wearing long-wear foundation, lash glue, or a strong setting spray, patch test during your trial week (not the night before). For sunscreen guidance and skin safety basics, reference the American Academy of Dermatology Association sunscreen FAQs.
Building a Photogenic Base: Skin, Coverage, and Longevity
A camera-ready base starts with thin layers. Apply foundation sparingly and build only where needed; then use targeted concealer for pinpoint coverage (around the nose, chin, and any discoloration). This approach reduces cakiness and prevents the “makeup sitting on top of skin” look that high-resolution photos can reveal.
Choose finish intentionally. Satin or soft-matte tends to perform best across mixed conditions—natural light portraits, indoor ceremony lighting, and reception video. If you love glow, keep it controlled: let skincare provide comfort, and place highlight only where it won’t amplify texture.
Set in zones, not all over. Powder the T-zone and under-eyes to reduce creasing and shine, while leaving the perimeter of the face more skin-like. Finally, lock everything with a setting spray suited to your climate—humid venues often do better with a more sealing, long-wear mist, while dry climates benefit from a flexible, “melting” spray that prevents a powdery finish.
Flashback and SPF: How to Avoid a Washed-Out Look
Flashback usually comes from too much reflectivity—certain mineral SPF ingredients, overly brightening under-eye products, and some “HD” powders can bounce light back to the camera. The fix is testing, not guessing: take flash photos during your trial (and ideally in similar lighting to your venue) to check for a white cast.
If you’re wearing sunscreen for daytime photos, apply it early, let it dry down fully, and avoid piling powder on top of tacky layers. Stick to a finely milled setting powder and apply lightly only where you truly crease or get oily. For additional cosmetics safety and labeling context, see the U.S. Food & Drug Administration cosmetics overview.
Eyes That Read Well on Both Photo and Video
Eyes can disappear on camera if everything is too soft, or look harsh if liner is too heavy. Start with lid primer, then lightly set to prevent creasing through long ceremonies and dancing. Use a mid-tone matte in the crease to add depth, keeping shimmer on the lid center or inner corner where it won’t emphasize texture.
Blush, Bronzer, and Highlight: Dimension Without Shine Overload
Lip Strategy: Comfortable, Kiss-Friendly, and Camera-Ready
Makeup Trial: What to Test So There Are No Surprises
Quick Touch-Up Plan for the Wedding Day
A Step-by-Step Reference to Keep Everything Consistent
If you want a ready-made plan you can print or share with your artist, the Bridal Makeup for Photos & Video Guide is an easy reference for keeping product choices, timing, and touch-up steps consistent.
For better pre-wedding rest (which can visibly reduce puffiness and dullness), consider the AI-Powered Checklist for Better Sleep Adventures as a simple wind-down companion during the week leading up to the wedding.
FAQ
How can bridal makeup look natural in person but still show up in photos?
Use thin layers for coverage, then add dimension strategically with blush, bronzer/contour, and subtle highlight so the face doesn’t look flat under bright lighting. Set only where you crease or get shiny to keep skin looking like skin.
What causes flashback in wedding photos, and how can it be prevented?
Flashback usually comes from reflective ingredients (some mineral SPFs and certain powders) or over-powdering. Test your full routine with flash during the trial, let SPF dry down fully, and use a finely milled powder lightly only in needed areas.
Should bridal makeup be matte or dewy for video?
A balanced satin or soft-matte base with targeted glow tends to look best on moving video. Dewy all over can read oily as time passes, while ultra-matte can look flat—adjust based on your skin type and venue heat/humidity.







Leave a comment