AI Video Stabilization Checklist: Import to Export
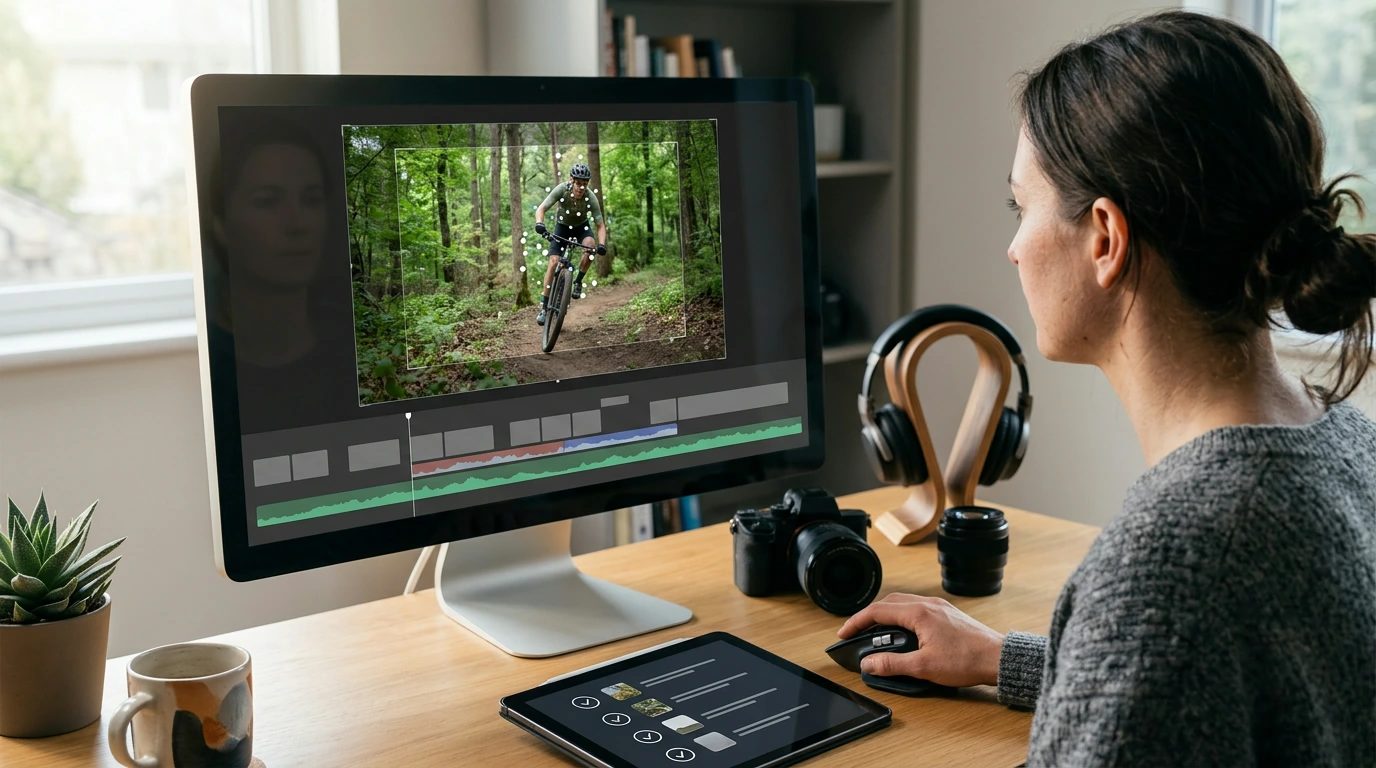
Fix Shaky Footage with AI: A Practical Checklist from Import to Export
Shaky clips can ruin otherwise great footage—especially for handheld, action, or low-light shots. AI-powered stabilization can smooth motion quickly, but results depend on clip prep, choosing the right mode, and checking for common artifacts. Use the checklist below to stabilize efficiently, keep edits clean, and export with confidence.
What AI stabilization actually changes (and what it can’t)
Stabilization works by estimating camera motion, then re-framing each frame to reduce unwanted shake. Many modern tools add AI-driven motion analysis, scene understanding, and—in some workflows—rolling-shutter correction to prevent the “jello” look.
Tradeoffs are normal. Smoother motion usually means some cropping/zooming, and aggressive settings can introduce warping where faces, text, or straight lines start to bend. If the subject is moving fast while the camera is also moving, no tool can “lock” everything at once—expect a compromise between preserving subject motion and minimizing camera shake. Finally, extremely blurry frames, low-detail scenes (blank walls, dark clubs), or heavy compression can limit tracking accuracy and make stabilization less reliable.
Before you stabilize: clip triage and quick prep
A minute of prep often saves multiple re-renders later. Start by identifying the shake type: micro-jitter, walking bounce, vehicle vibration, whip pans, or rolling-shutter wobble. Different motion patterns often need different settings.
- Pick the hero segment first: Trim to the usable portion before analysis to reduce render time and avoid confusing the tracker at clip starts/stops.
- Confirm frame rate and shutter behavior: Very low shutter speeds can create motion blur that turns into smeary edges after stabilization.
- Check lens distortion: Ultra-wide footage can benefit from lens correction before stabilizing (depending on your NLE and plugin order).
- Work non-destructively: Duplicate the clip or use adjustment layers so the original stays available for A/B comparison.
Step-by-step stabilization checklist (AI-assisted workflow)
This workflow is designed to be tool-agnostic, whether you stabilize in your editor, a dedicated plugin, or a standalone AI app. For official feature specifics, see guides like Adobe’s Warp Stabilizer documentation or Apple’s Final Cut Pro stabilization overview.
- Import and conform: Make sure the clip matches the timeline frame rate and resolution to avoid unintended interpolation.
- Analyze motion once: Run stabilization analysis before stacking multiple effects. Re-analyze only after major trims, speed changes, or reframing.
- Choose a stabilization mode: Start balanced. Move to stronger modes only when the shot truly needs it.
- Tune smoothing gradually: Increase in small steps and watch edges for crop changes and subject outlines for wobble.
- Set crop behavior: Choose fixed crop, auto-scale, or dynamic crop based on how consistent your framing needs to be.
- Address rolling shutter (if available): Use a dedicated rolling-shutter correction when vertical lines bend during motion.
- Review at 100%: Scan faces, straight lines, logos, and on-screen text; these reveal warping quickly.
- Handle problem sections: Split the clip and stabilize each section differently instead of forcing one setting to fit all.
- Finalize with subtle polish: Add light sharpening only if stabilization softened detail; avoid halos from over-sharpening.
- Export a short test: Render 5–10 seconds and review on the target device before exporting the full video.
Stabilization checklist with settings to verify
| Step | What to check | Common mistake |
|---|---|---|
| Trim & isolate | Cut out unusable starts/stops, remove accidental bumps | Analyzing the entire clip and getting unstable tracking |
| Run analysis | Let analysis finish; note if tool flags low confidence | Changing clip speed after analysis without re-running |
| Choose mode | Standard/balanced first; try stronger modes only if necessary | Jumping to maximum smoothing and causing warping |
| Smoothing amount | Increase slowly and compare A/B | Over-smoothing that makes the camera feel “floaty” |
| Crop/auto-scale | Watch for composition drift and edge reveals | Auto-scale too high, losing important framing |
| Rolling shutter fix | Straight vertical lines remain straight during motion | Ignoring “jello” wobble and blaming stabilization |
| Section-by-section | Split clip where motion type changes | One setting across mixed motion (walk + pan + zoom) |
| Test export | Check on phone/TV; confirm no edge flicker | Only judging in preview, missing export-time artifacts |
Choosing the right stabilization strength for different footage
Common artifacts and how to fix them fast
Export checks that keep stabilized video looking clean
Printable digital checklist for repeatable results
A repeatable checklist keeps stabilization consistent across projects—especially when switching between talking heads, walking footage, and fast action under tight deadlines. For a ready-to-use option, see Step-by-step digital checklist for fixing shaky videos with AI.
If you like structured, quick-reference templates, you may also want a separate routine checklist for downtime and recovery between edits, such as AI-Powered Checklist for Better Sleep Adventures.
FAQ
Will AI stabilization reduce video quality?
It can, mainly because stabilization often crops and scales the image, which may soften detail. Stabilize before heavy resizing when possible, use high-quality scaling, and avoid extreme smoothing that forces large zoom-ins.
How do AI tools fix shaky videos so quickly?
They estimate camera motion by tracking frame-to-frame movement, then re-frame frames to counteract unwanted shake. Some tools also account for rolling shutter and scene elements so the correction looks more natural.
What should be done if stabilization causes warping or “jello” movement?
Lower the smoothing strength, try a different stabilization mode, and split the clip so problem sections get gentler settings. If available, enable rolling-shutter correction and consider lens distortion correction to improve tracking.










Leave a comment